Skip to content
Shipping cost now at 50%OFF!
icon-X
Close menu
Markers
SPENT Series
MXR
MXR
MXR Mech Frame
MXR Parts & Kits
DSR
NEW DSR PRO
DSR+
DSR Mech Frame
DSR Parts
CZR+
CZR+
CZR+ /Rize -Parts
Triggers
Dye Assault Matrix (DAM)
DYE DAM
DAM Accessories
Box Rotor
Software Update
Parts & Accessories
MXR
DSR
M3/M3+ Parts
DAM
Rize/CZR/CZR+
Barrels
BOOMSTICK-I TI FC-I KIT
UL-I Barrel Insert System
CF-S BOOMSTICK
UL-S Barrel Tip & Back
Barrel covers
Barrel cases
Loaders
R2
LT-R
Box Rotor
Primo
Loader Accessories
Goggles
i3 PRO
i5
i5
i5 Lens
i5 Parts
i4 PRO
i4 PRO
i4/i4 PRO Lens & Parts
I4
I4
i4 Lens
AXIS PRO
AXIS PRO
AXIS PRO Lens
SE & Lenses
Switch FS Goggle
Goggle Accessories
Wing Visor
Gear
Jerseys
Pants
Protective
Head Gear
Head Tie
Head Wrap
Hats &Beanies
Packs / Harnesses
Casual
Shirts
Shorts
Hats & Beanies
Jackets & Hoodies
Socks
Pods
Luggage
Accessories
DYE Tech ZONE
Hard Parts
Tanks/Regs/Covers
Barrel Covers
Repair Kits
Promo Items
DYE Deal$
Log in
instagram
Instagram
Facebook
Cart
icon-X
Close cart
Order note
Your cart is currently empty.
Markers
SPENT Series
MXR
MXR
MXR Mech Frame
MXR Parts & Kits
DSR
NEW DSR PRO
DSR+
DSR Mech Frame
DSR Parts
CZR+
CZR+
CZR+ /Rize -Parts
Triggers
Dye Assault Matrix (DAM)
DYE DAM
DAM Accessories
Box Rotor
Software Update
Parts & Accessories
MXR
DSR
M3/M3+ Parts
DAM
Rize/CZR/CZR+
Barrels
BOOMSTICK-I TI FC-I KIT
UL-I Barrel Insert System
CF-S BOOMSTICK
UL-S Barrel Tip & Back
Barrel covers
Barrel cases
Loaders
R2
LT-R
Box Rotor
Primo
Loader Accessories
Goggles
i3 PRO
i5
i5
i5 Lens
i5 Parts
i4 PRO
i4 PRO
i4/i4 PRO Lens & Parts
I4
I4
i4 Lens
AXIS PRO
AXIS PRO
AXIS PRO Lens
SE & Lenses
Switch FS Goggle
Goggle Accessories
Wing Visor
Gear
Jerseys
Pants
Protective
Head Gear
Head Tie
Head Wrap
Hats &Beanies
Packs / Harnesses
Casual
Shirts
Shorts
Hats & Beanies
Jackets & Hoodies
Socks
Pods
Luggage
Accessories
DYE Tech ZONE
Hard Parts
Tanks/Regs/Covers
Barrel Covers
Repair Kits
Promo Items
DYE Deal$
account
Log in
icon-search
Search
icon-hamburger
Site navigation
icon-cart
Cart
Search
Search
Replacement Loader Parts
icon-filter
Filter
Don't see your part listed below? Give us a call to see if we have it available! -
858.536.5183
Sold Out
Quick view
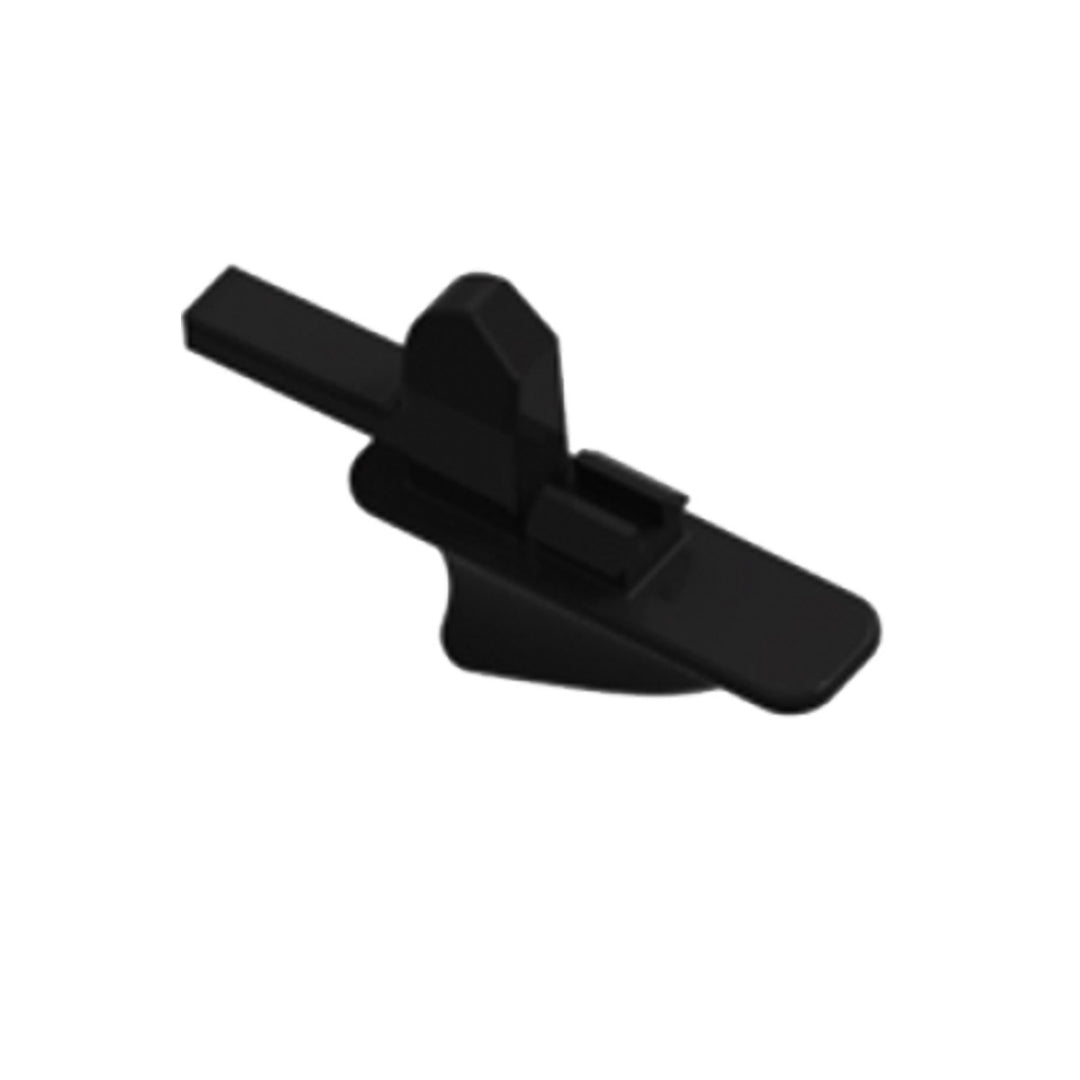
Rotor Anti Jam Pull Tab
$2.00
icon-X
"Close (esc)"
Sold Out
Quick view
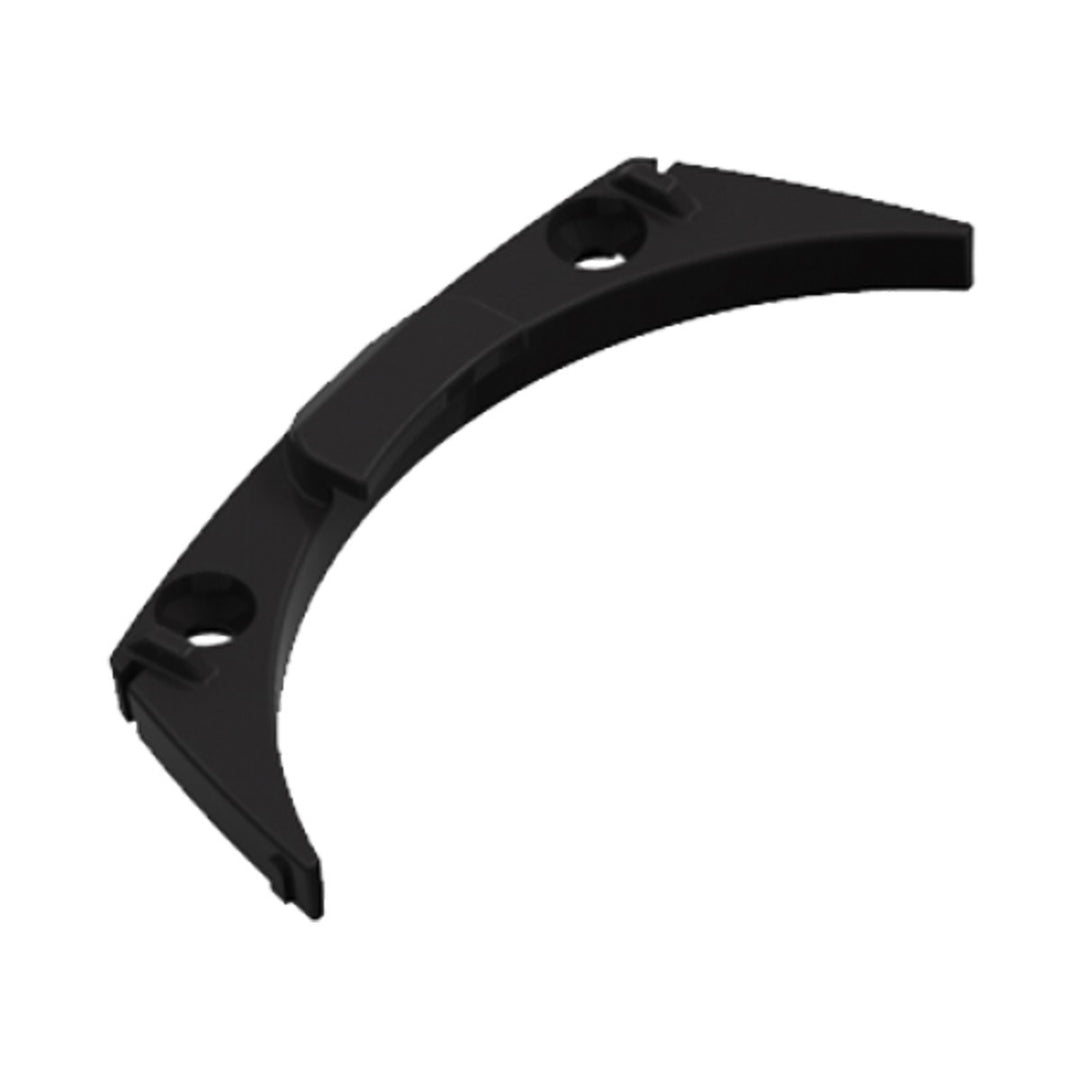
Rotor Bottom Front Support
$3.00
icon-X
"Close (esc)"
Sold Out
Quick view
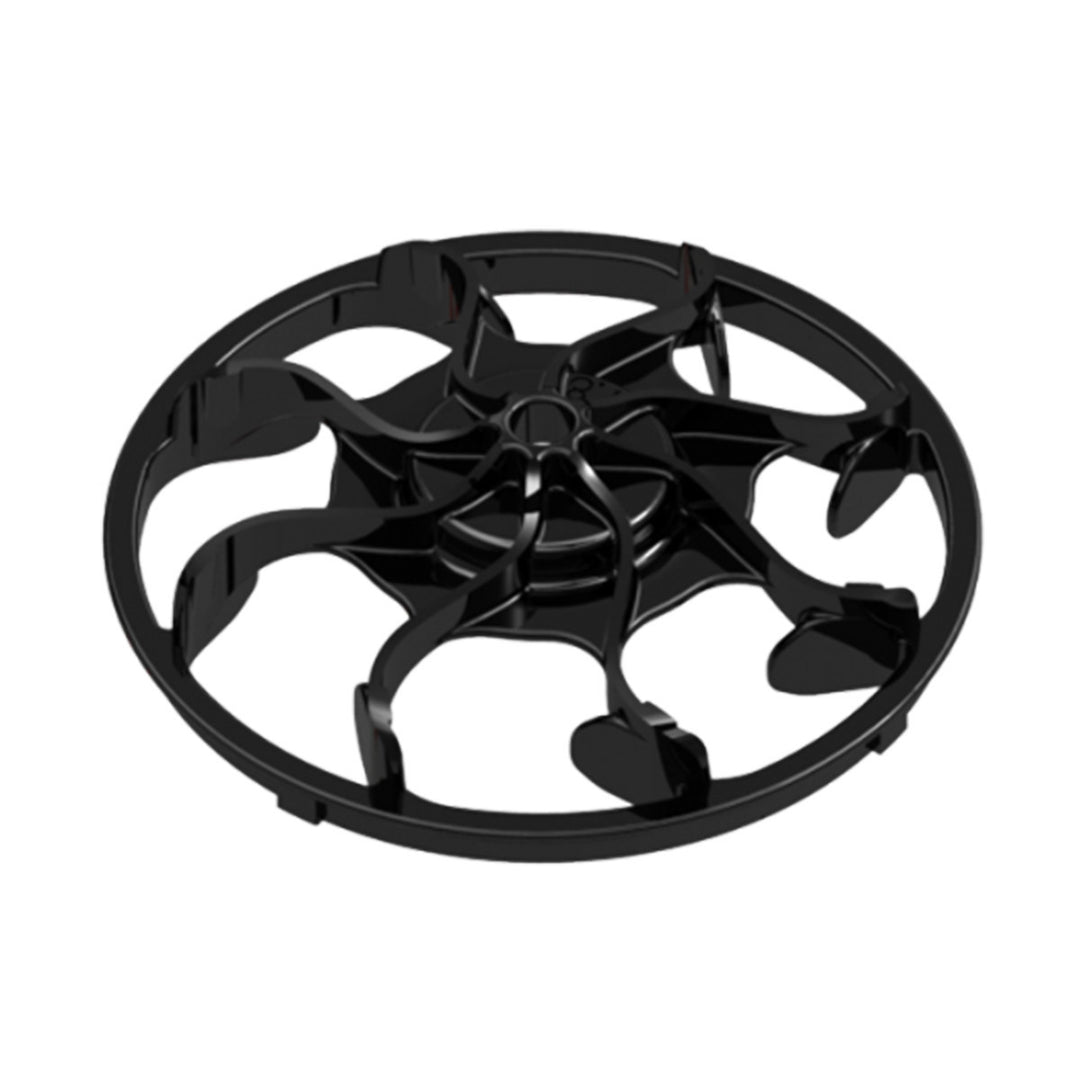
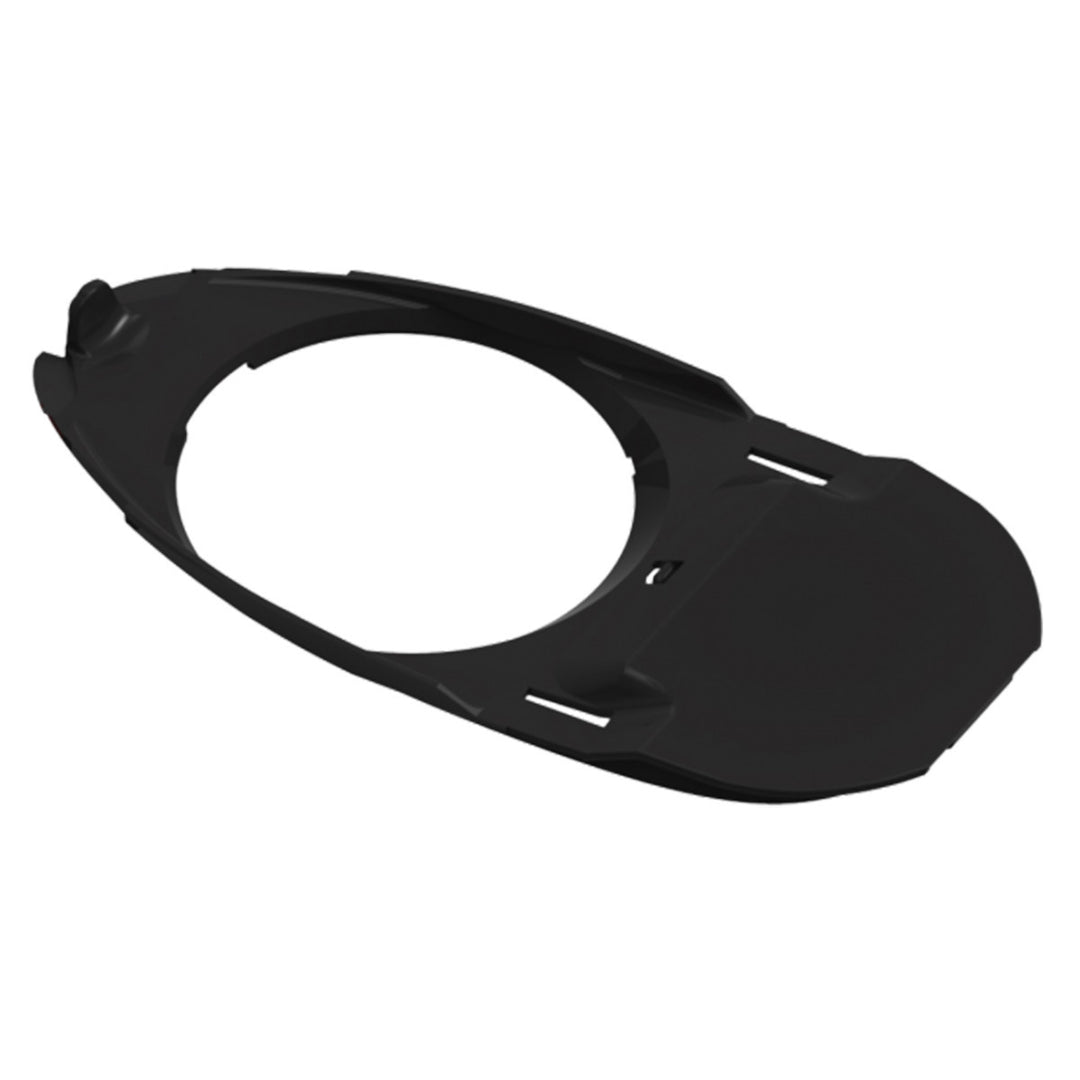
Rotor Bottom Tray
$12.00
icon-X
"Close (esc)"
Sold Out
Quick view
Rotor Top Eight Ball
$10.00
icon-X
"Close (esc)"
Sold Out
Quick view
Rotor Bottom Tray Complete
$15.00
icon-X
"Close (esc)"
Quick view
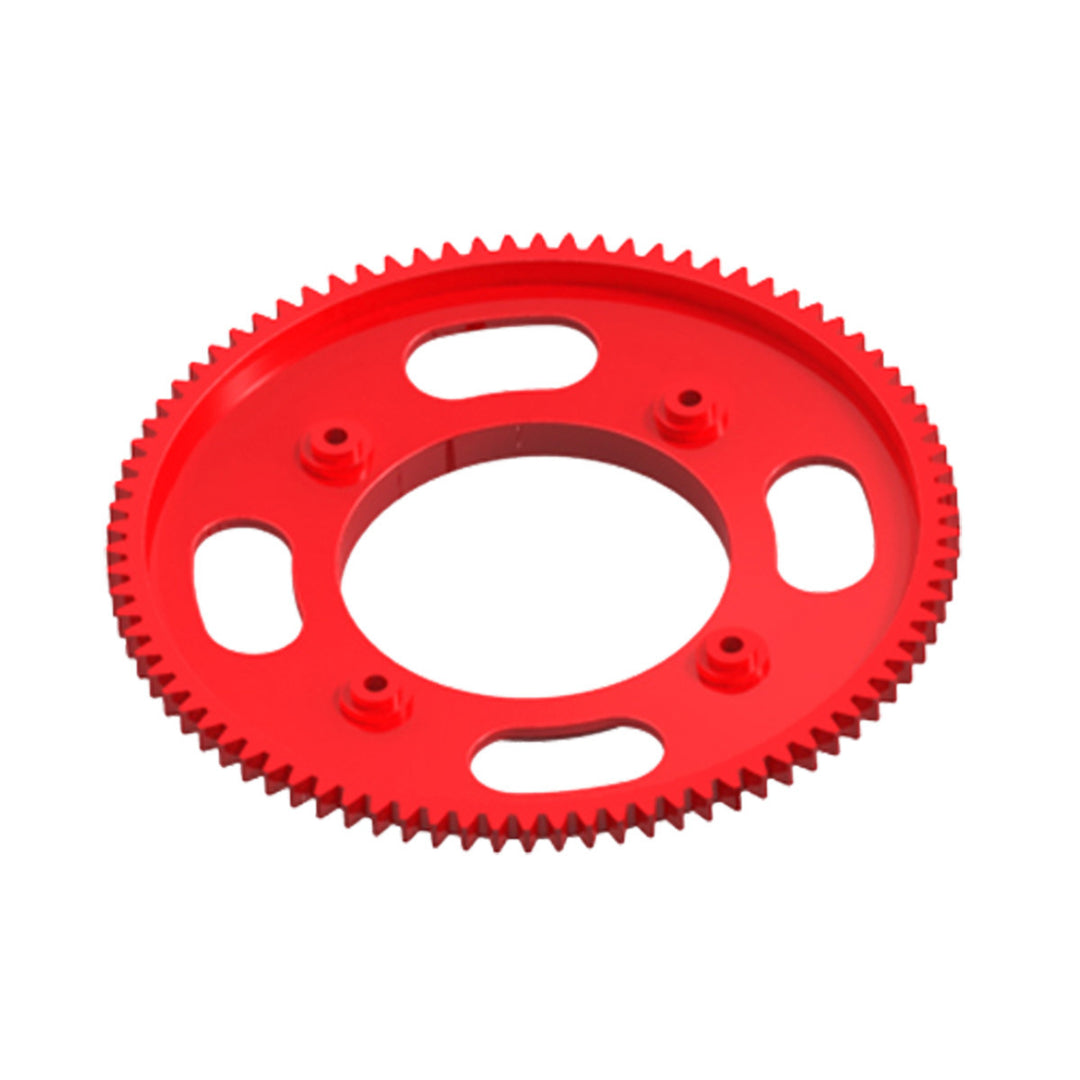
Rotor Btm Tray Slice Gear
$4.00
icon-X
"Close (esc)"
Quick view
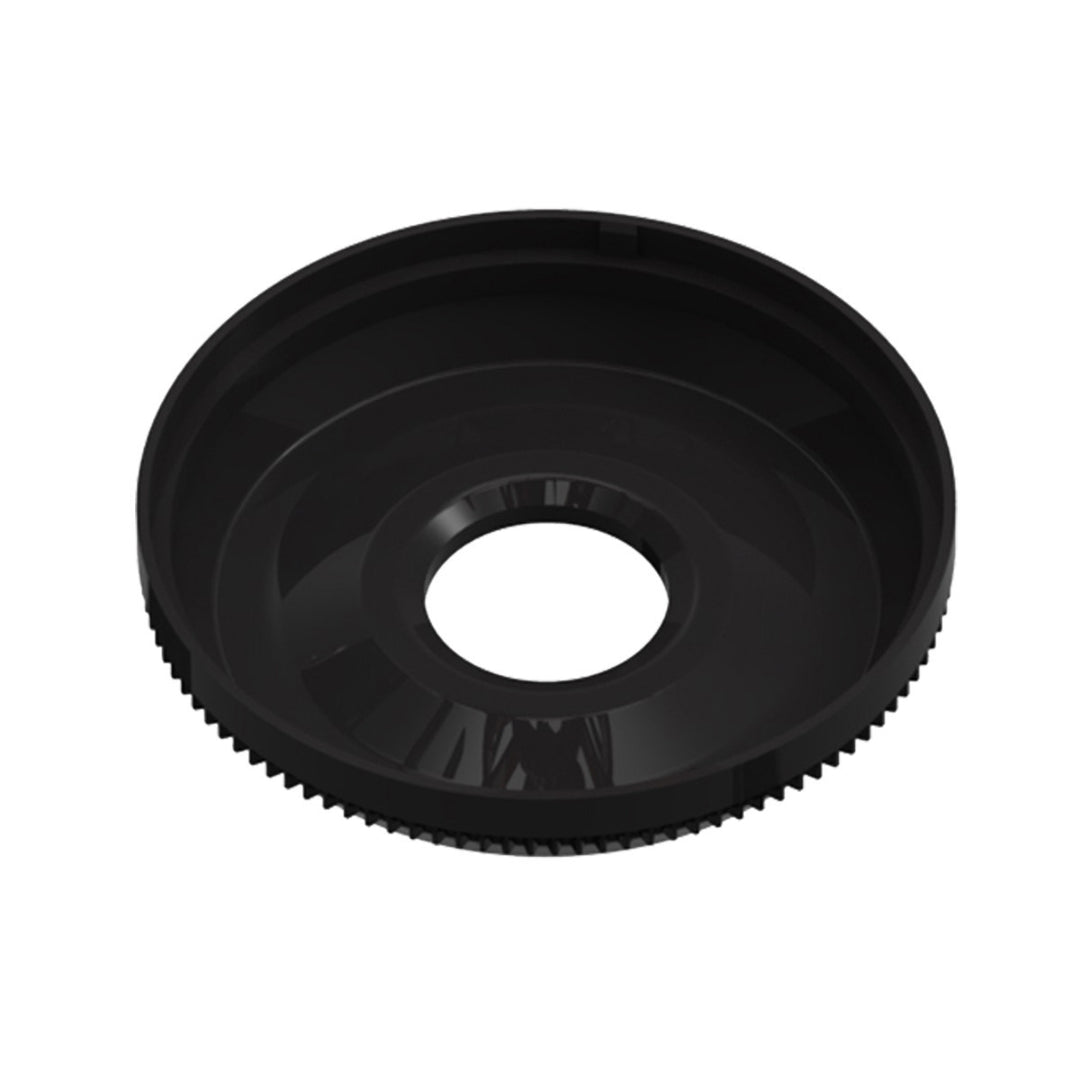
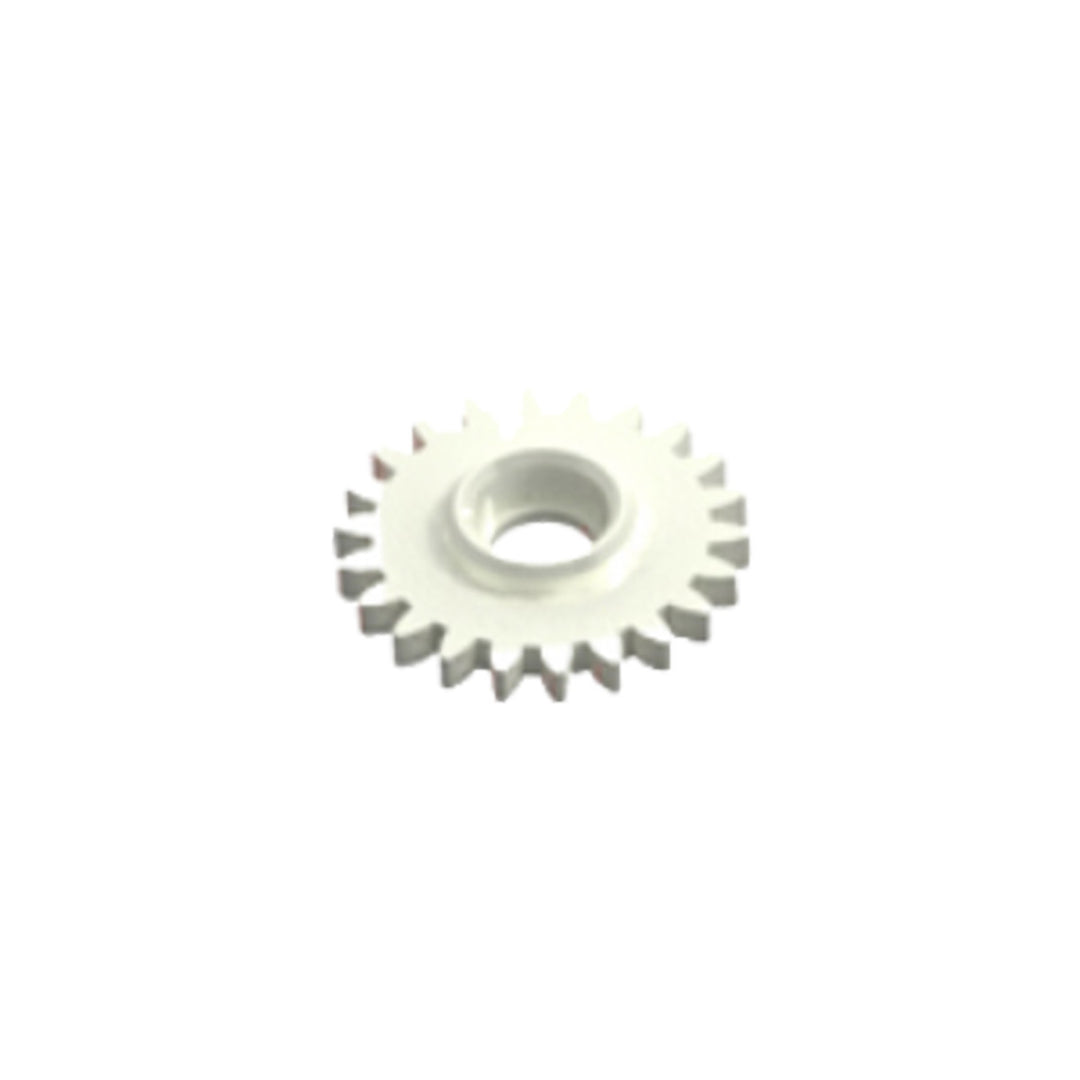
Rotor Overdrive Gear .8M 22T
$4.00
icon-X
"Close (esc)"
Quick view
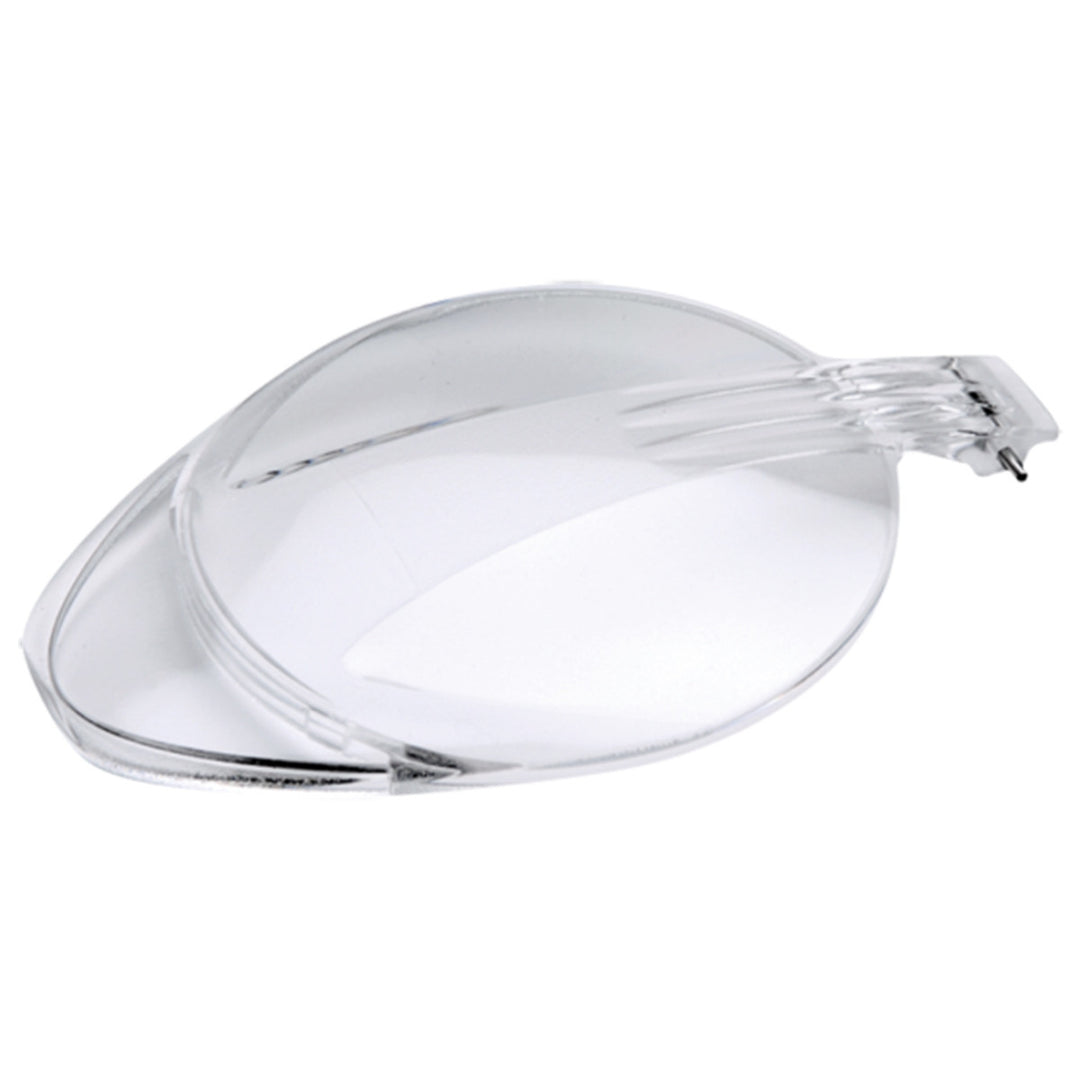
Rotor Lid - Clear
$10.00
icon-X
"Close (esc)"
Sold Out
Quick view
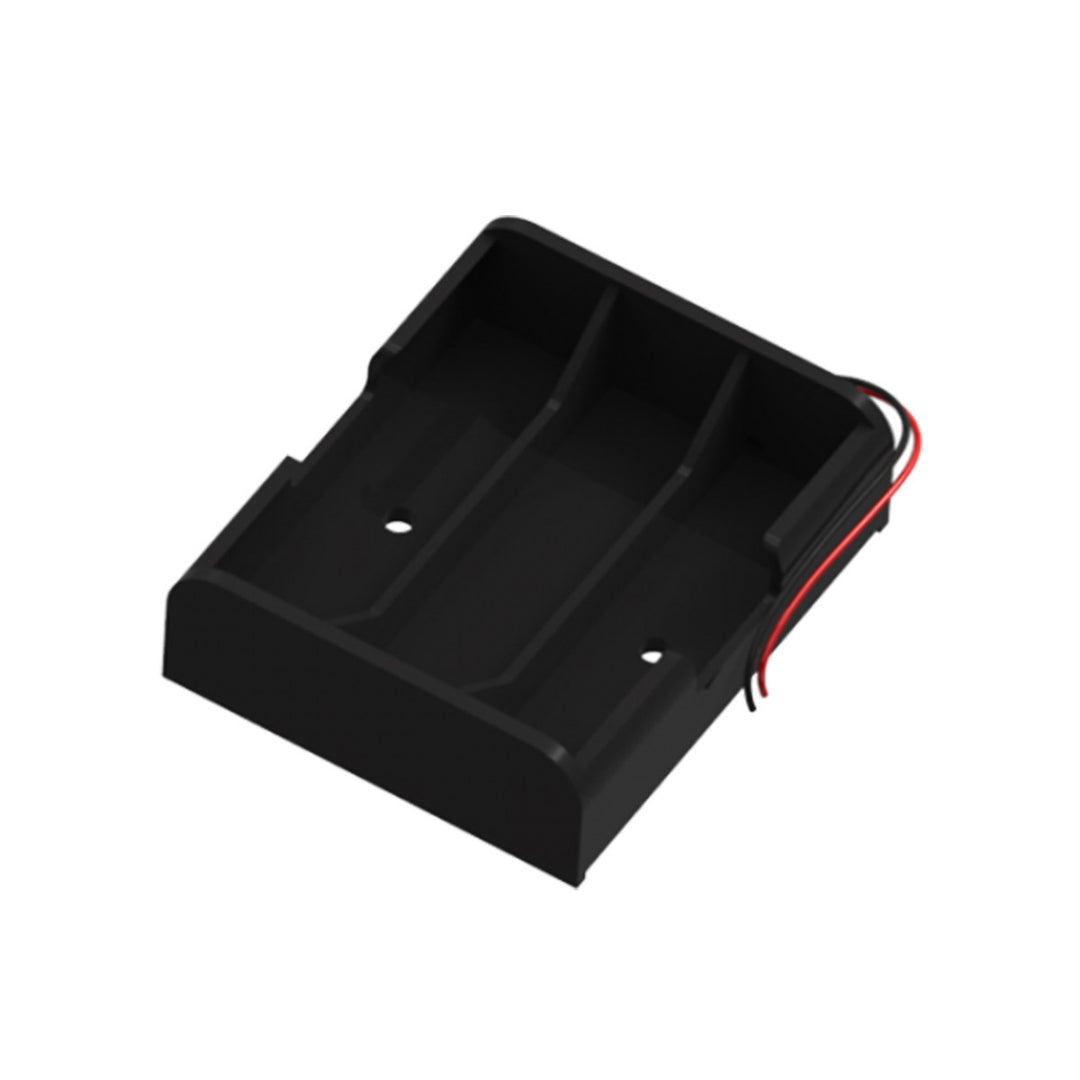
Rotor Gear Box Battery Holder
$5.00
icon-X
"Close (esc)"
Quick view
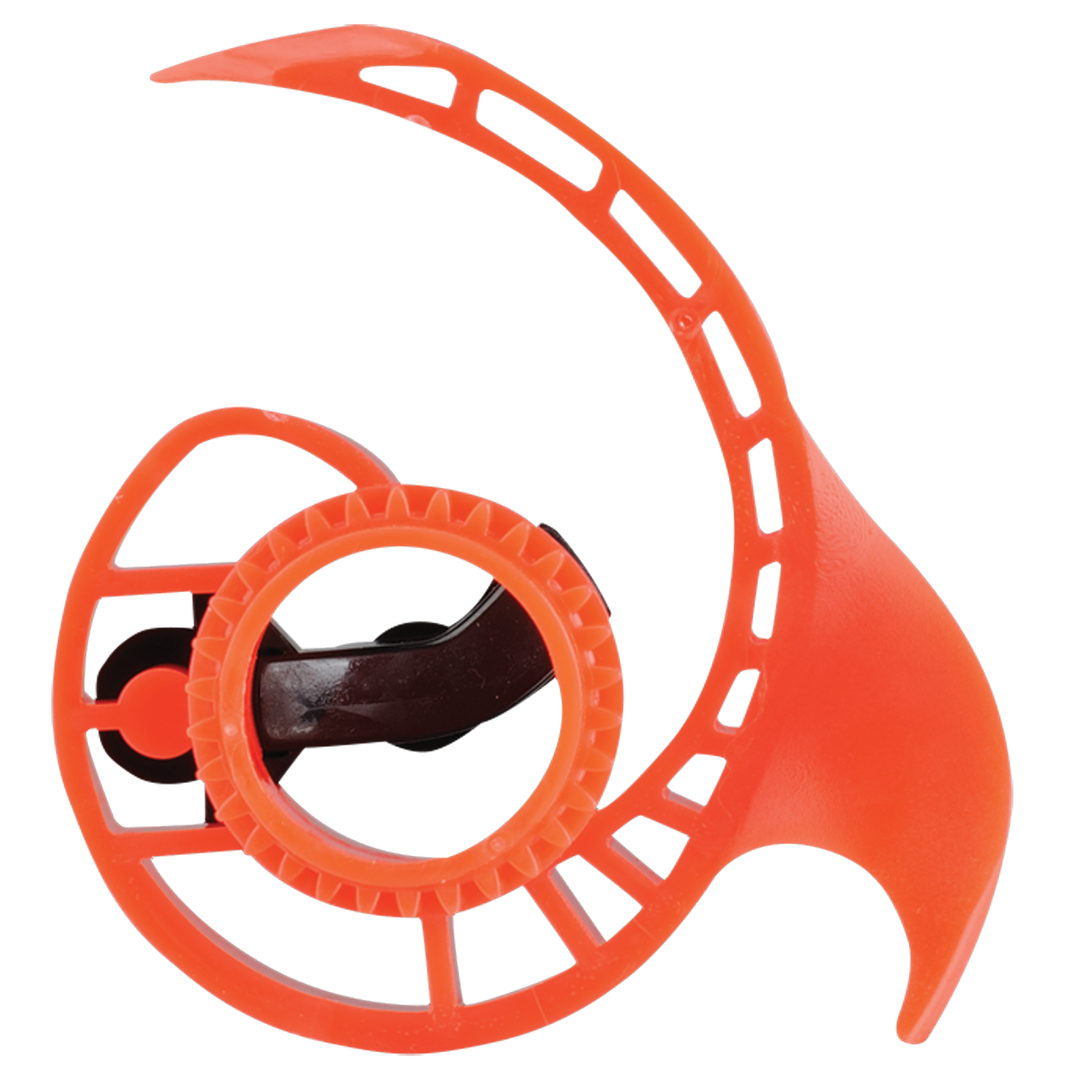
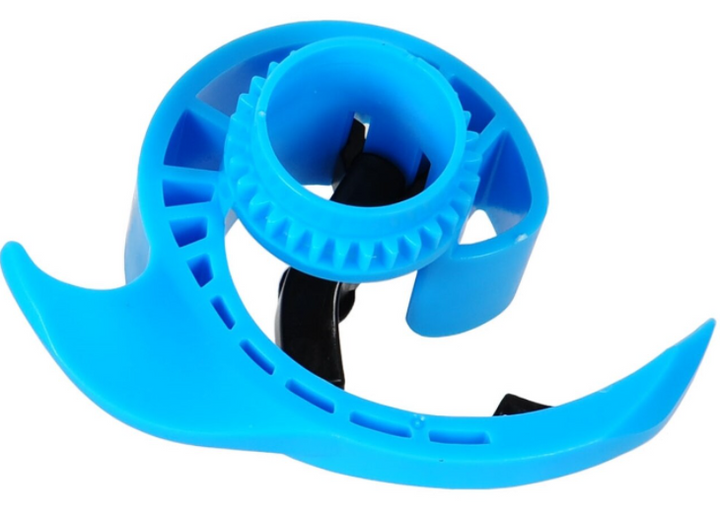
Center Arm -Rotor/R2/LTR
$9.95
icon-X
"Close (esc)"
Quick view
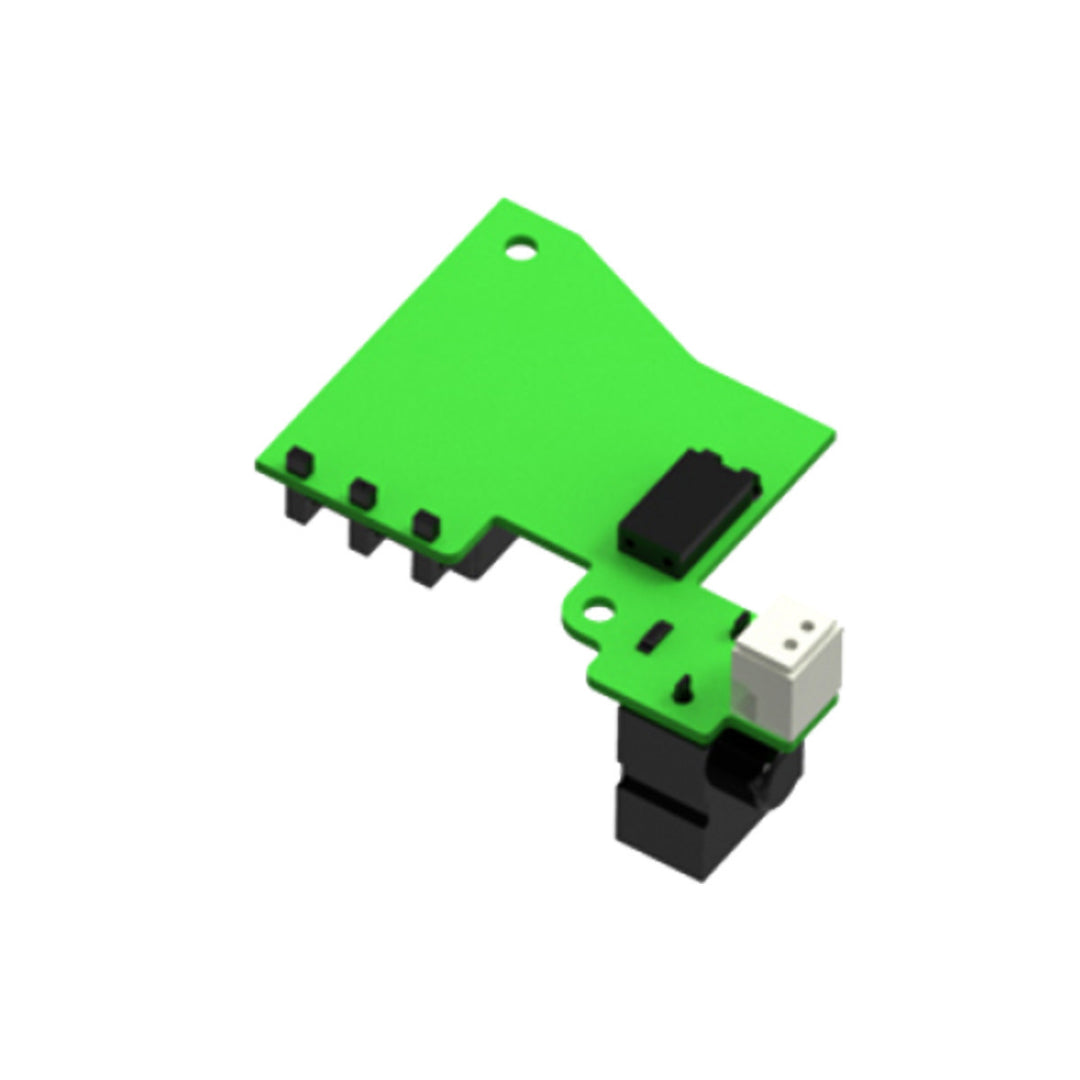
Rotor Circuit Board with Connectors
$20.00
icon-X
"Close (esc)"
Quick view
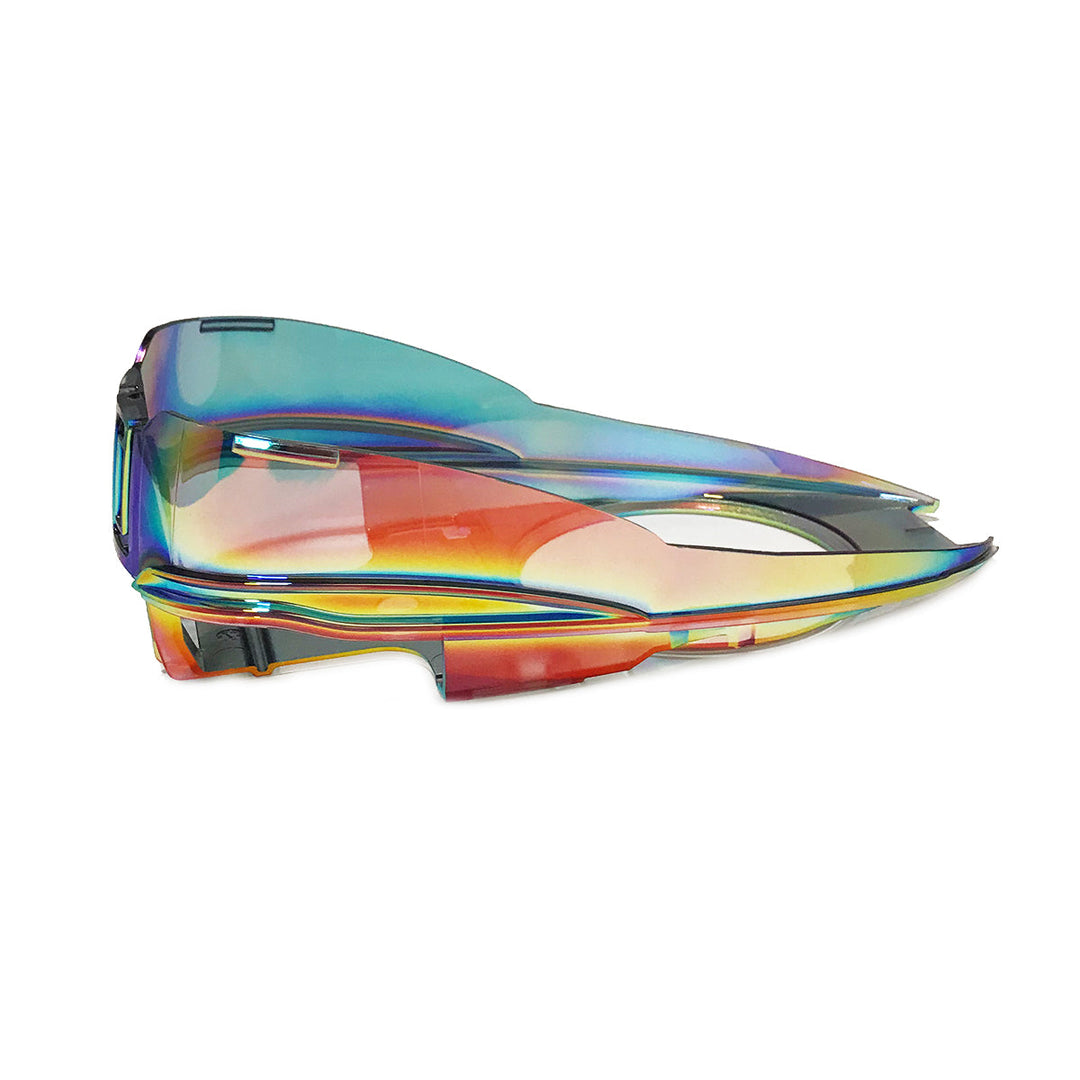
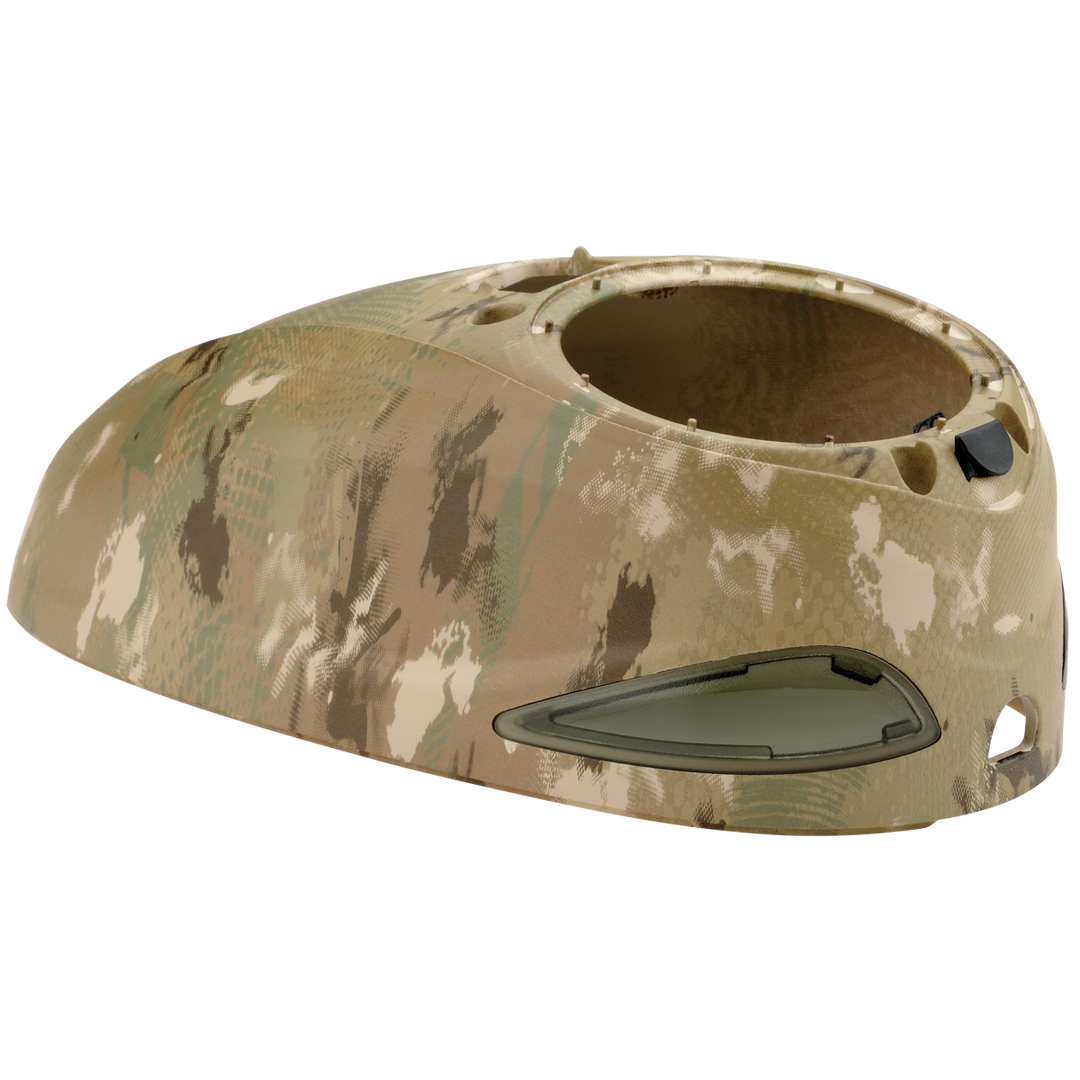
Rotor TopShell Hi-Capacity - DyeCam
$24.95
icon-X
"Close (esc)"
Sold Out
Quick view
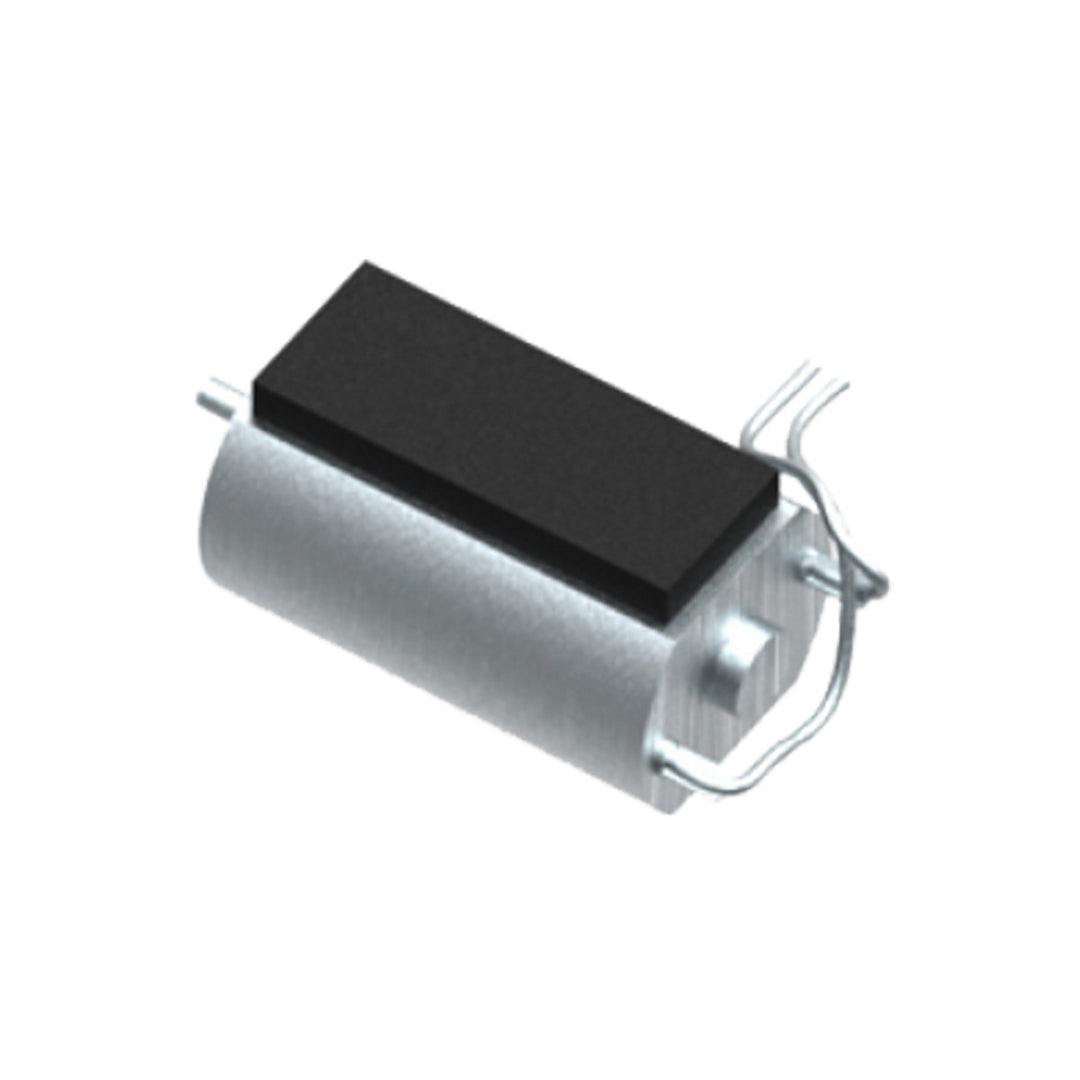
Rotor Motor with Wire
$20.00
icon-X
"Close (esc)"
Quick view
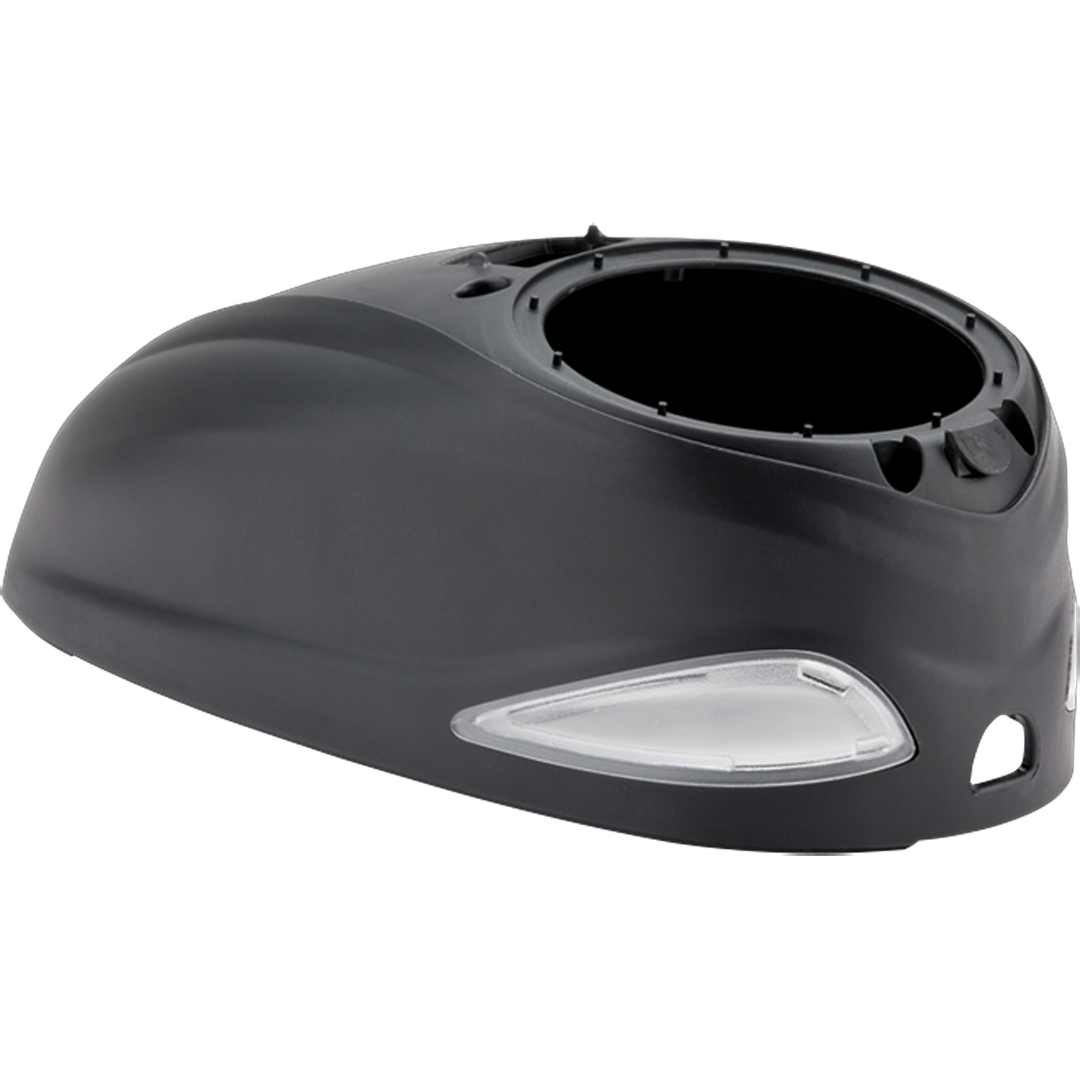
Rotor TopShell Hi-Capacity - Black
$24.95
icon-X
"Close (esc)"
Sold Out
Quick view
R2 Tray Window
$19.95
icon-X
"Close (esc)"
1
2
icon-chevron
Next
icon-X
"Close (esc)"
icon-chevron-left
icon-X
icon-chevron
icon-X
Replacement Loader Parts